I apologize for not having very many photographs. When I planned to make this cake I knew I wanted to write up a tutorial about it since it was hard to find one myself. However as soon as I got my hands on the fondant, I forgot about my camera and went to work. Here is what I do have.
First thing I made was the top. I used a 8" cardboard cake circle, on top of it I hot glued a cardboard semicircle, using a cereal box (so it was cardboard, yet bendable). This created the canopy top.
Then I created the six sides of the canopy, and "glued" them on to the edge of my 8" cake circle. I had the canopy dry for two days on a smaller sized can, to allow the edges to dry hanging off the edge. You can't see it in this photo, but I also hot glued a 1 1/2" circle (the diameter of your column opening) of Styrofoam to the center of my 8" cake board. This Styrofoam will be used later to connect the column to the canopy

The base of the cake was actual cake. I covered it like any other cake.

Then I pushed in my center column. I molded fondant around a clean empty paper towel ring to create this column. It was made several days before, so that the bottom and top lips were allowed to harden. The bottom six or so inches were left empty since that was the area that would be inserted into the cake.

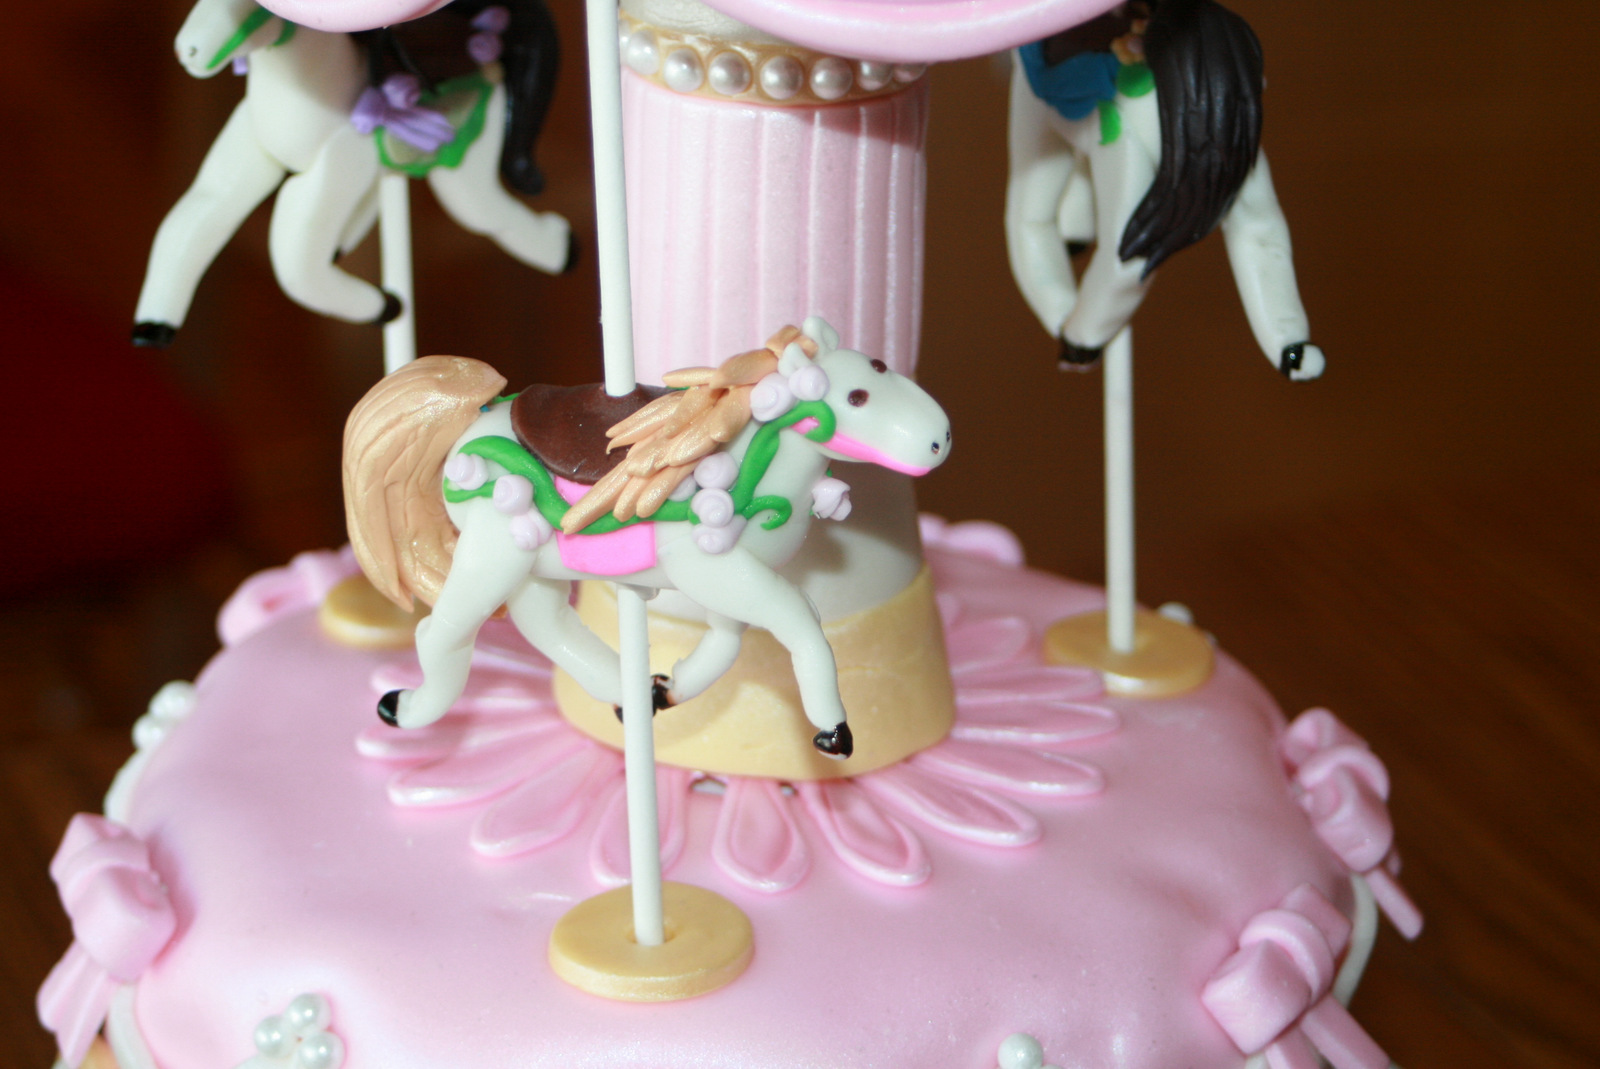
The three gold rings on the cake were supports for my horses. These too were made in advance so that they were hardened and would hold the horse dowels in place.
Once the column was in place I put my horse dowels in my golden supports.

This was the tricky part. You place the canopy on top of the column, carefully inserting the Styrofoam circle (that you already placed on the center of the canopy bottom) into the columns center. I got a glue gun and glued the columns top lip to the 8" cardboard cake circle. to secure it from tilting at all.

And there you have it a carousel cake!

(P. S. I got the shine by airbrushing it with a pearl finish)